It's okay to be square!
Step 1: Loosen up the soil with a fork, shovel and/or rotor tiller. Add compost and fertilizer, if needed. (Thanks Katie & Dad!)

Step 2: Use a hammer to pound in wooden stakes on each corner.
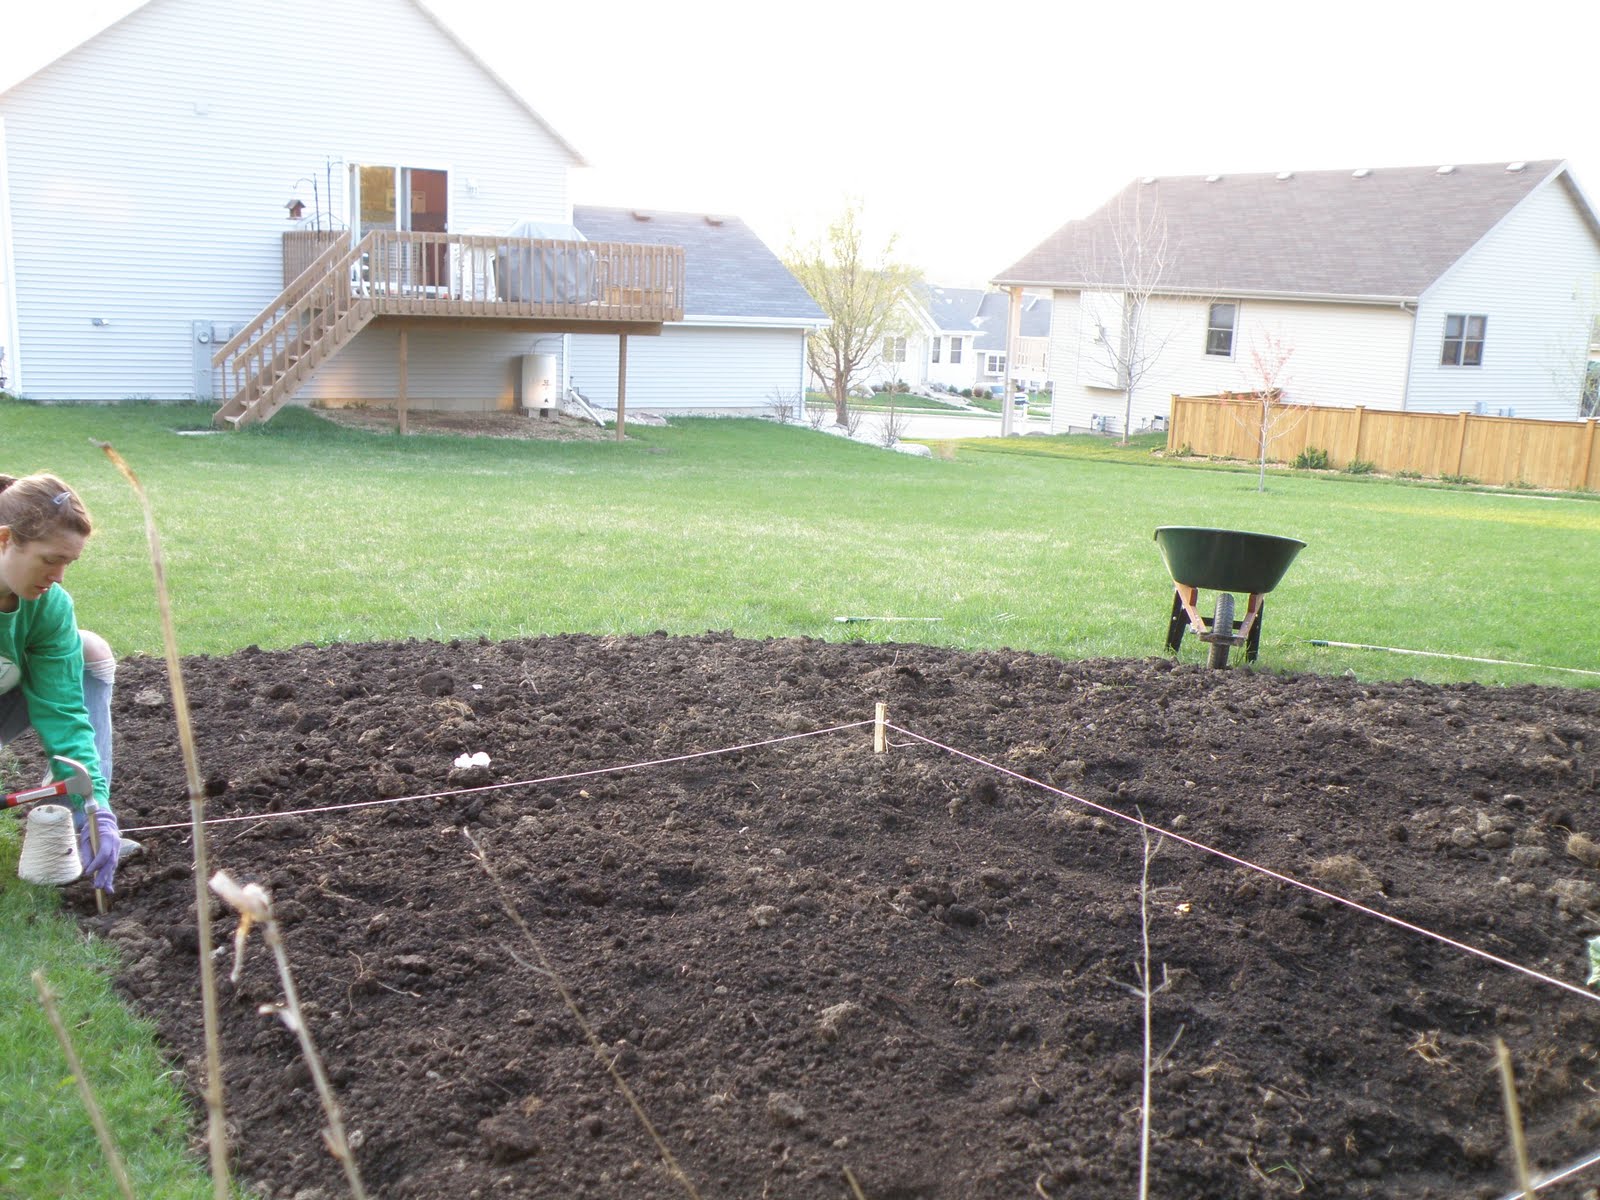
Step 3: Continue to outline your 1-foot grid with string and wooden stakes, starting with the four corners.

Step 4: Create approximately 6 rows, spaced about a foot or two apart in one direction.

Step 5: Complete the grid by adding rows in the opposite direction.

Step 6: Choose what to grow and plot where each veggie will go. Consider the following:
Sunlight: plant taller plants to the North so they do not shade the shorter plants.
Support: some plants like peas, cucumbers, and vine tomatoes will need a trellis. It’s best to put your trellis in a place where you can get to both sides of it, and where it won’t block your access to other plants.
Support: some plants like peas, cucumbers, and vine tomatoes will need a trellis. It’s best to put your trellis in a place where you can get to both sides of it, and where it won’t block your access to other plants.
Companions: Look up your vegetable using the Companion Planting Tool and make sure it’s “neighbors” are compatible.
Competing spaces: don’t plant vegetables next to each other that will be competing for the same space. For example, potatoes try to spread all over (or under!) so don’t put them next to onions or carrots.


Step 7: Follow the planting instructions on the seed package, planting seeds the appropriate depth and width.
Some things to keep in mind:
Weather: It's best to plant seeds when the forecast is for overcast skies, light winds and slightly cooler temperatures. Hot, sunny days will dry out your soil faster, making it harder for your seeds establish a home in the soil.
Soil: Make sure to loose the dirt below seeds. Cover your seeds with fine soil and press lightly on top to set seeds in place.
Water: Always water your seeds after planting.


Step 8: Water the new seedlings. (I used water from our Sustain Dane rain barrel)

Step 9: Fingers crossed that it grows! :)


